SHOWER INSTALL WITH TANKING
I had a leak from my first floor shower which is about 14 years old. So instead of adding some more silicone I decided to investigate the problem as I was decorating the bedroom this was good time to sort it out. The existing shower is a 900mm square stoneware tray with pumped shower. As can be seen by the dark lines on the board the water was getting through the tile joints. The tiles were on green moisture resistant plasterboard. I decided to rip it all out and start again
Can you see the dark stains on the adhesive lines and in the corner which is evidence of water penetration.
Dark staining in the corner up about 200mm
This is the 22mm ply base under the tray which shows the base framework starting to rot at the corners
Base framework from 75x50mm soft wood. Cut out in the floor boards for the pump and its pipework. The framework will have to be renewed
View on the shower controls
Renew all rotten timber. Hack off all the plasterboard and reline with Tile backer board. I used British Gypsum Tile Backer H board. As my shower tray was 900x900mm I used board size 1200 x 900 x 12.5mm thick. But you can also use tile backer board from Wickes or
B@Q. Please note that the board at the back has got to have 185mm cut away from the base to allow the tray to slide in underneath. This is due to the fact that I am using a new tray 900 square stoneware with Upstand. This will allow the tiles to drop down into the tray and not rely on silicone being the only defence
View shows the existing pipework from a Stuart Turner Showermate 1.4 bar twin pump and the waste. The tile backer board at the back yet to be cut at its base
Arial view of pump and waste
New 75 x 50mm framework with cross members to miss pipework. As you can see two walls are studwork and the wall on the right is concrete block with render and plaster down to 185mm from floor. This will allow the tray to fit under the render
New ply (resalvaged) base with trap cut out using the old one as a template
View of waste below cutout in base ply
Shower tray slided in to see if it fits. This is no lightweight tray
Mistake as can be seen. More cut away is need on the plywood for the trap
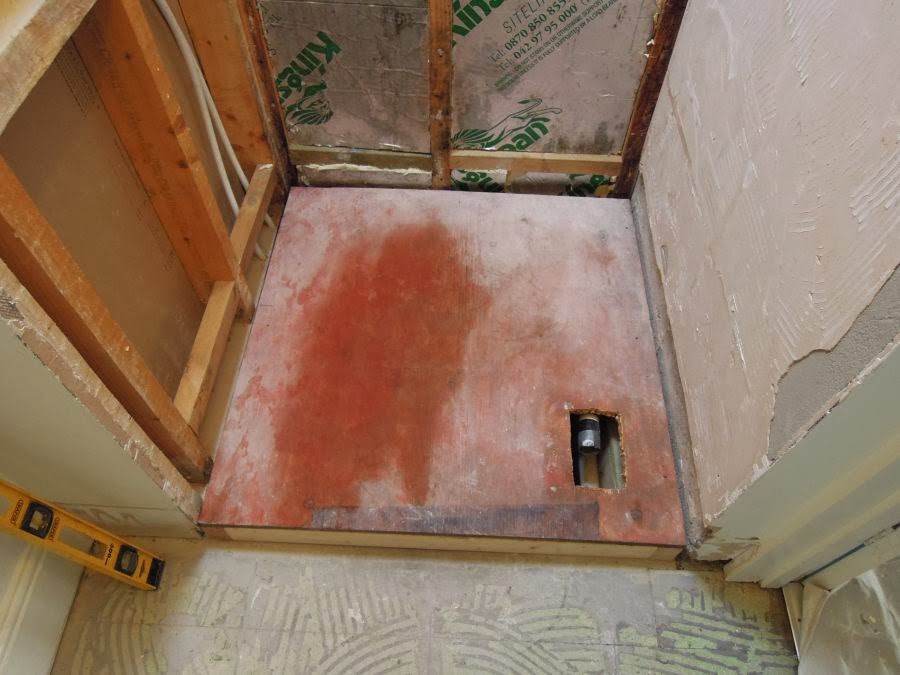
Tray fits. It will need to be taken out and a layer of weak sand/cement needed for the tray to bed onto.
The tile backer boards will now be fitted to the studwork down on top of the tray upstands
Tray up stand on the right hand side to be flush with the plasterwork. It is very important to get the dimensions right. The tray is 900mm square but the sides are tapered and has a dimension of 910mm square at its base. So this will give 915mm between studwork
The up stand can be seen on the tray. Once the plumber has done his first fix for the new shower controls then the boards can be fitted and tanking can be started
The tile backing board has now been cut to sit on top of the shower up stand and screwed every 6" onto the framework
Shows the bottom of the tile backing board on top of the stoneware shower tray with up stand. The tiles now will be fitted into the tray and will not rely on silicone to stop water ingress
I used Mapei shower tanking complete with their corner scrim for both corner and also the board joins. The kit enabled me to go up to 2 metres high with two generous coats. Just make sure the tray is well covered
Tiler starting to fix the tiles on top of the tanking
As you can see the grey tanking is well above the water spout from the shower head
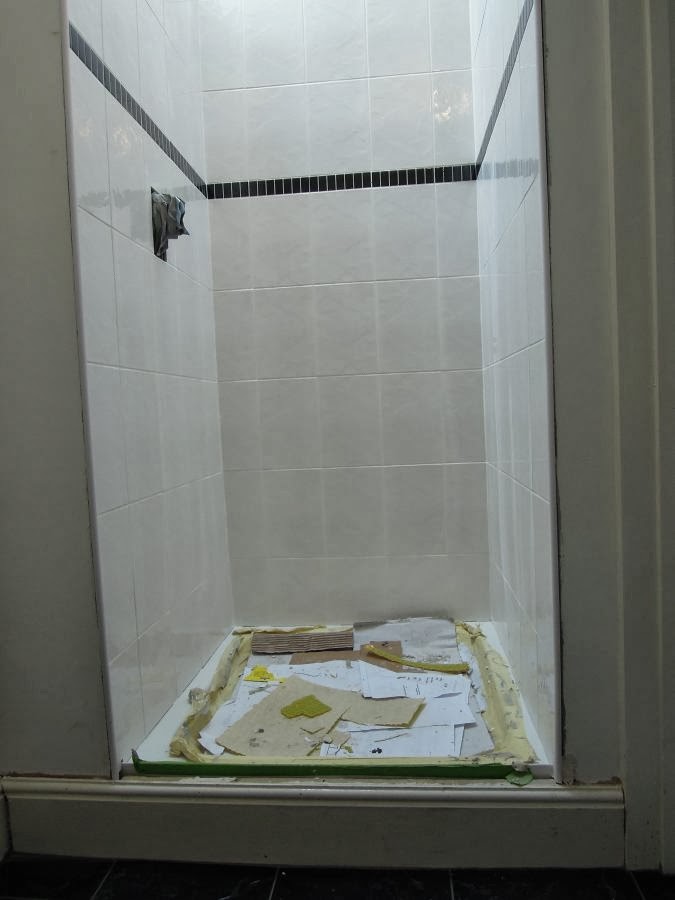
Shower tiling complete. All ready now for the plumber to finish off
All complete. Bi fold door installed and soap corner basket. All silicone joints and ready for the forst shower
fixed head was positioned slightly higher than normal due to personal preference. Roof light above that has always been there and over the bi fold door within the sloping ceiling is installed an extract fan
 |
| Band of ebony tiles just above the controls. Again to suit client. |


